 Australia
 Austria
 Belgium (Dutch)
 Canada (English)
 Denmark
 Estonia
 Finland
 France
 Germany
 Ireland
 Italy
Italy
 Luxembourg (French)
 Netherlands
 New Zealand
 Norway
 Poland
 Portugal
 Romania
 Singapore
 Spain
Spain
 Sweden
 Switzerland (French)
 USA
USA
 United Kingdom
 Other Countries


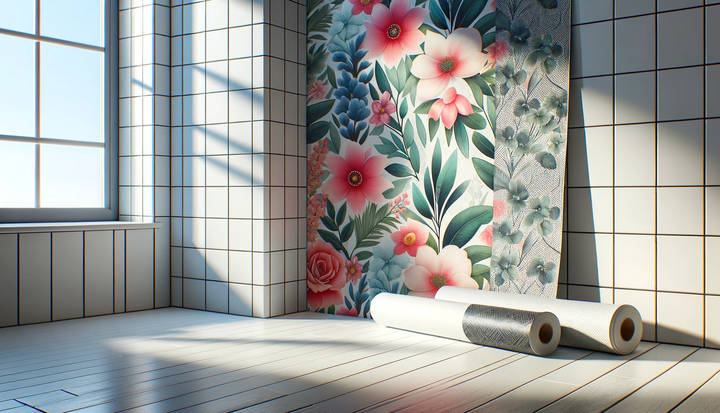
The process of how to install wall murals over tiles requires meticulous planning and careful execution. This comprehensive guide aims to explain the necessary steps and considerations involved in ensuring a professional finish when applying a wall mural over tile surfaces.
How to know if you can install a wall mural over tiles
Before proceeding with installing a wall mural over tiles, it's important to assess the suitability of the tiles and the surrounding environment to ensure a seamless and long-lasting application.
Check if the walls are smooth
Smooth walls are essential for the successful installation of wall murals over tiles. Any unevenness or protrusions can lead to air bubbles, wrinkles, or potential tearing of the mural, thus undermining the aesthetic appeal and durability of the installation.
Consider the moisture levels in the room
The moisture level in the room can significantly impact the adhesion of the mural to tiles. High humidity or dampness can weaken the adhesive, leading to peeling or bubbling. It's essential to ensure that the room has a stable and low moisture level before and after installation.
Evaluate the adhesion potential
The ability of the mural to adhere effectively to tiles is contingent on the quality of the adhesive and the tile's surface. A clean, non-glossy, and slightly porous tile surface is more conducive to strong adhesion, ensuring the mural remains intact and vibrant over time.
Assess the condition of the tiles
The tiles' condition plays a crucial role in the mural installation. Broken, loose, or chipped tiles can compromise the integrity of the mural application. It's paramount to ensure that all tiles are in optimal condition, firmly affixed, and free from defects.
Choose the right mural type and quality
Not all wall murals are created equal. The type and quality of the mural should be compatible with the tile surface and the intended aesthetic of the room. High-quality murals are less likely to fade or tear, ensuring a lasting visual impact. Photowall’s wall murals, including standard, premium, and peel-and-stick types, are made of high-quality wall murals that are also easy to clean and maintain.
Things to do before covering tiles with wall murals
Certain preparatory measures are indispensable to ensure optimal adhesion, longevity, and visual appeal prior to applying a wall mural over tiles. A rigorous preparatory process sets the foundation for a successful mural installation. So, make sure to observe and follow these steps before applying the wall mural to your tiled walls:
1. Clean and degrease the walls
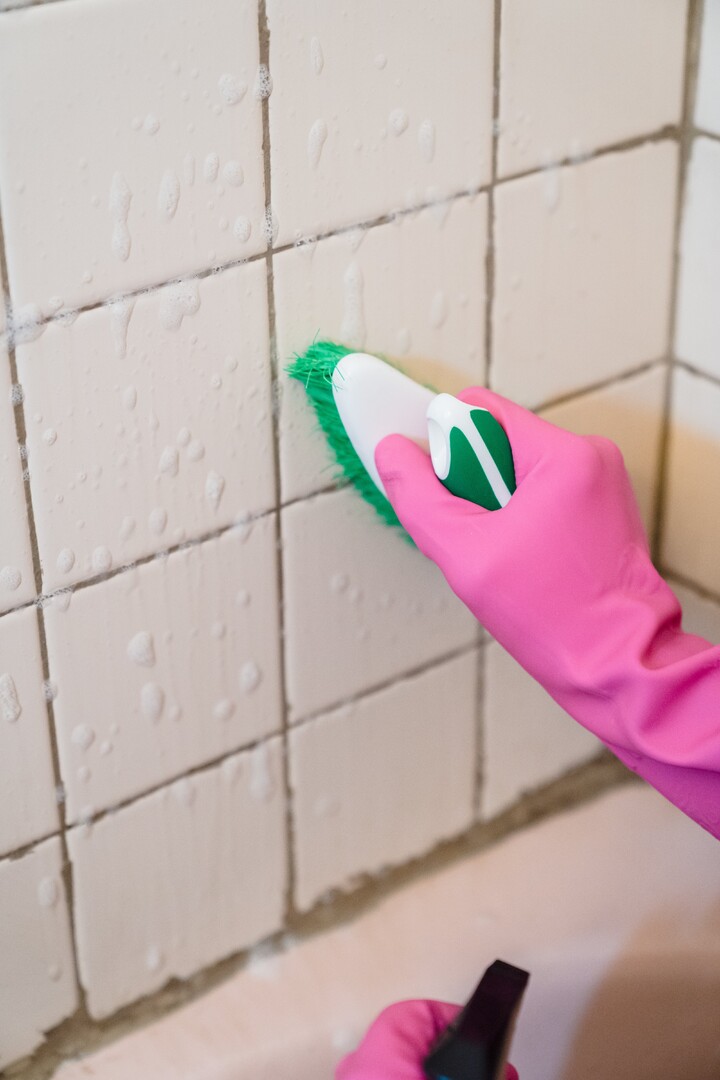
Ensuring the tiles are impeccably clean and free from grease is paramount. The presence of dust, grime, or grease can impede the adhesive strength, causing the mural to peel or bubble over time. To clean and degrease, use a mild detergent or a specialized tile cleaner, scrubbing gently with a soft brush. Rinse thoroughly with water and allow the tiles to dry completely before proceeding.
2. Sand the tiles
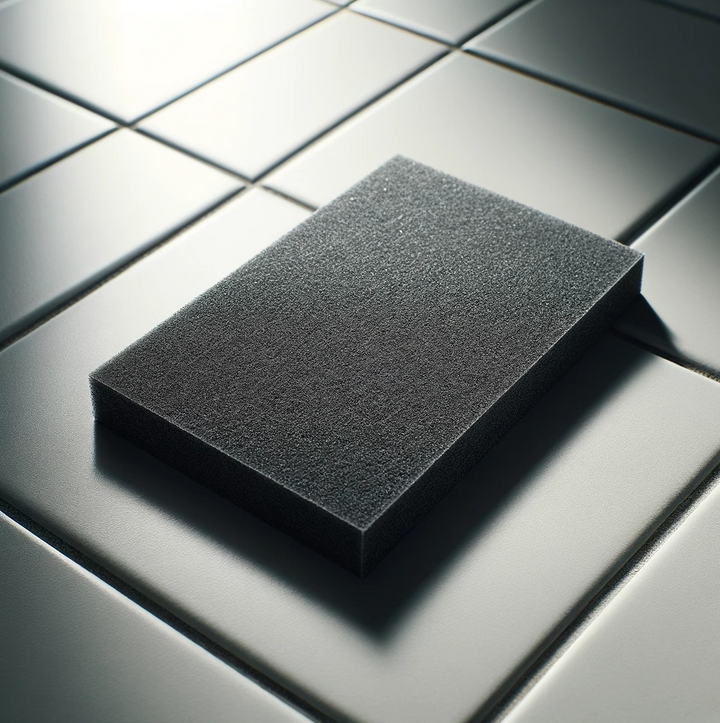
Sanding is essential to create a slightly rough surface, enhancing the mural's adhesion to the tiles. While tiles generally have a glossy finish, sanding them down with fine-grit sandpaper removes this sheen, allowing the adhesive to grip better. Ensure uniform sanding across all tiles and wipe away the dust with a damp cloth afterward.
3. Check and repair loose tiles
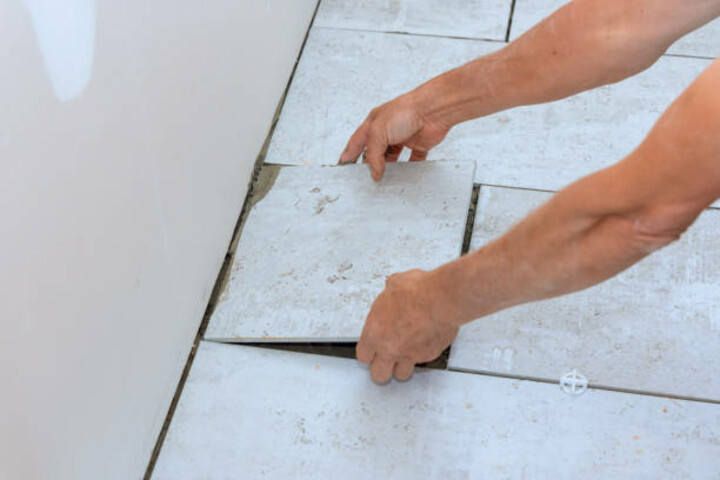
Loose or damaged tiles can compromise the mural's integrity, leading to unevenness or potential damage in the future. Before mural application, inspect the wall thoroughly, identifying any loose tiles. Utilize a quality adhesive or mortar to reaffix them firmly. If a tile is cracked or broken, it's advisable to replace it to maintain a uniform surface.
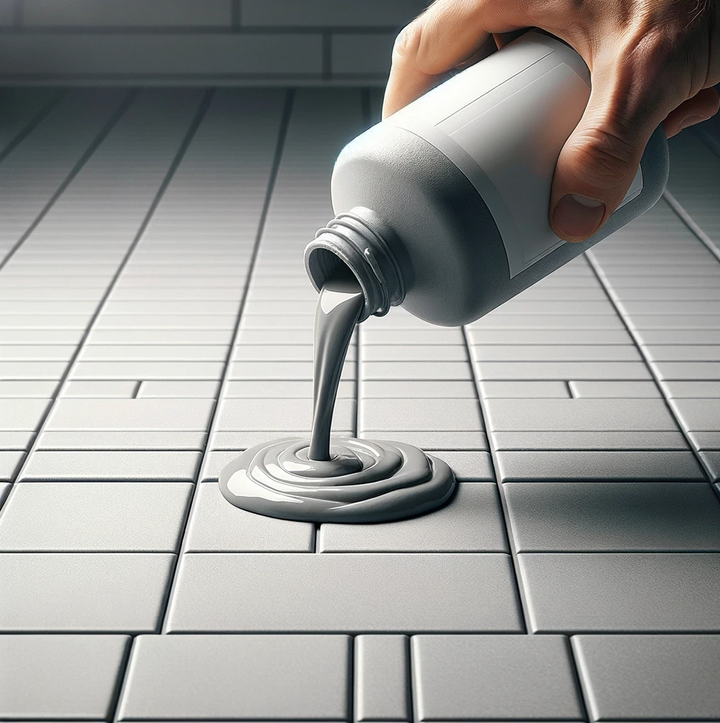
4. Fill in the grooves
The grooves, or grout lines, between tiles, can cause visible ridges beneath the mural if not addressed. Filling in these grooves ensures a smoother base for the mural application. Utilize a thin-set mortar or a suitable filler to bridge these gaps. Ensure that the filler is smoothed out and flush with the tile surface, then allow it to dry thoroughly.
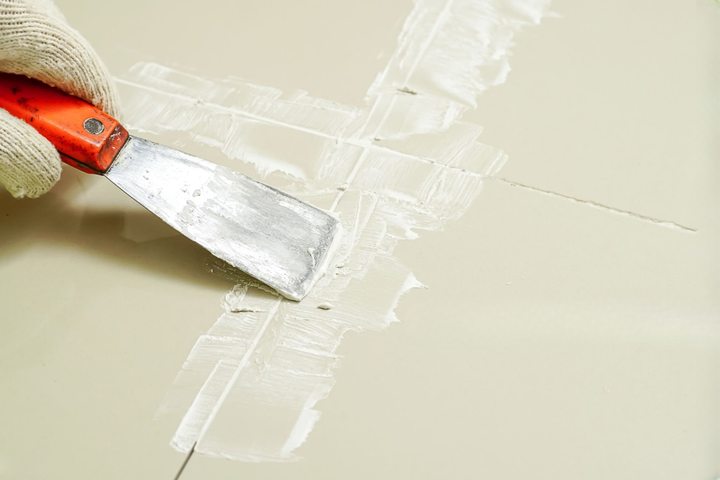
5. Smooth the tile surface
A uniformly smooth tile surface is the final touch in ensuring optimal mural adhesion. After filling in the grooves and repairing any defects, go over the entire tile surface with a leveling compound or skim coat. This step will ensure any minor discrepancies or unevenness are addressed, offering a pristine canvas for the wall mural.
How to apply wall murals over tiles
Once the preliminary preparations are complete, the actual process of installing the wall mural commences. Adhering to the following methodical steps will ensure a professional finish and long-lasting results.
1. Measure your walls
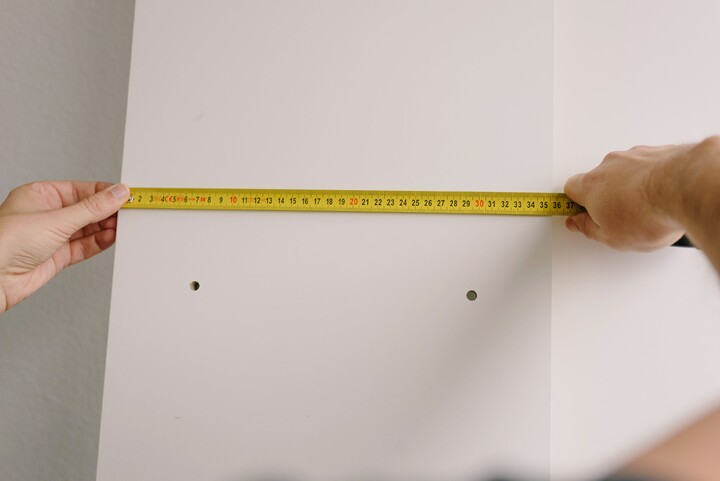
Accurate measurements are crucial for a seamless installation.
1. Use a tape measure to measure the height and width of the wall.
2. Note down the measurements, ensuring to leave a few extra inches for adjustments.
3. Compare the wall dimensions with the mural size to ensure compatibility.
For a complete guide on how to measure your walls and determine your wall mural needs, refer to this article: How much wall mural do I need?
2. Apply adhesive
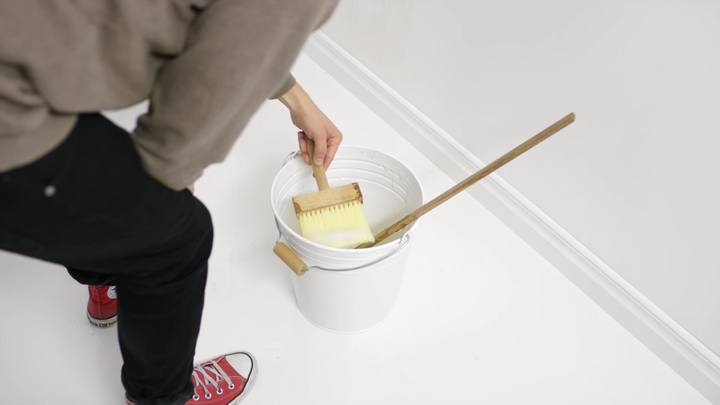
A robust adhesive application ensures the mural's durability.
1. Choose a high-quality wallpaper adhesive compatible with both tiles and the mural material.
2. Mix the adhesive as per the manufacturer's instructions.
3. Using a paintbrush or roller, apply an even layer of adhesive to the tiles, ensuring full coverage without over-saturation.
3. Install the wall mural
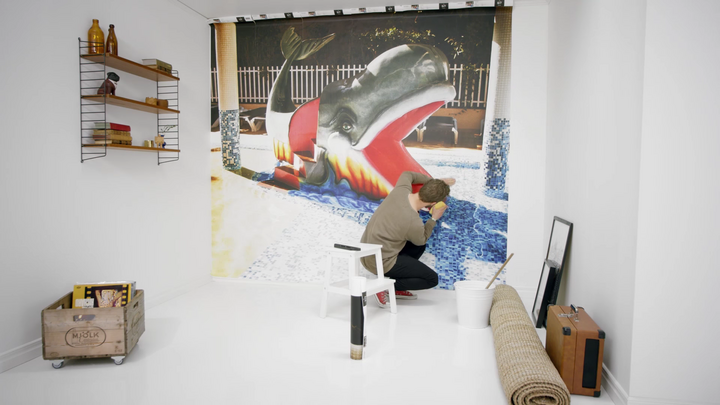
Precision is key during the installation phase.
1. Start from one corner of the wall, aligning the mural's edge with the wall's edge.
2. Gradually roll out the mural, pressing it onto the adhesive-covered tiles.
3. Use a wallpaper smoother or squeegee to eliminate any air bubbles moving from the center outward.
The most complete guide on how to install wall murals in general, including a specific discussion on each wall mural type, is available here: How to install wall mural
4. Trim the excess
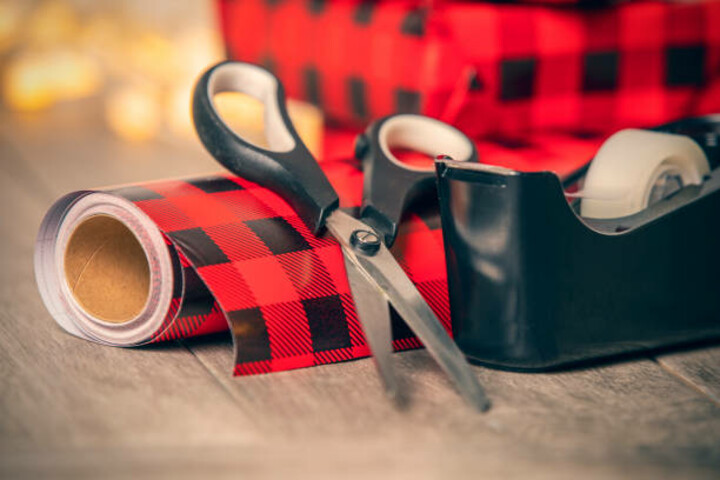
A neat finish is vital for a professional look.
1. Using a sharp utility knife, trim away any excess mural material beyond the wall's edges.
2. Ensure the knife is held at a slight angle for a smoother cut.
3. Regularly change the blade to maintain sharpness and precision.
5. Smooth out seams

Ensuring a seamless look enhances the mural's appeal.
1. For murals with multiple panels, align the seams perfectly.
2. Use a seam roller to press down and bond the overlapping areas.
3. Wipe away any adhesive residue that oozes out using a damp cloth.
6. Clean up
Maintaining a clean workspace post-installation is essential.
1. Remove any adhesive residues from the tiles or mural surface using a damp cloth.
2. Clean and store tools properly for potential future use.
3. Dispose of any waste or excess mural material. Many tips on how to use pieces of wall murals for arts and crafts purposes are available here: What is a wall mural?
Things you need for installing wall murals over tiles
• Tape measure
• High-quality wallpaper adhesive
• Paintbrush or roller
• Wallpaper smoother or squeegee
• Sharp utility knife
• Seam roller
• Damp cloth
Wall mural characteristics to consider
Different mural materials possess unique properties, each necessitating its own set of considerations. When deciding on a wall mural to install over tiles, it's crucial to be aware of these nuances.
Non-woven wall murals:
• Offers cleaner and easier installation and removal.
• Uses the paste-the-wall technique.
• Tear-resistant, making it advantageous for covering tiles.
• Can withstand stretching to fit into grout lines.
Peel-and-stick wall murals:
• Easiest type to install.
• Comes with a self-adhesive backing, removing the need for a separate adhesive.
• Adjustable during application for accurate alignment with tile patterns.
• Best suited for smooth, flat tiles.
• Not ideal for high-moisture areas.
Fabric-backed wall mural:
• Requires a strong adhesive due to its weight.
• Adhesive should be evenly applied.
• Must be smoothed out thoroughly to avoid air bubbles or creases.
Vinyl wall murals:
• Although durable, their non-porous nature can trap moisture between the tiles and the mural if not installed correctly.
• Slightly less forgiving during installation, with air bubbles being more prominent if not smoothed out accurately.
Photowall offers non-woven wall murals that offer multiple advantages when it comes to installation. For instance, they deliver your wallpaper in strips, carefully labeled in the order they should be hung. This meticulous organization significantly simplifies the process. Also, every non-woven wallpaper order comes with free wallpaper glue, a simple-to-mix powder ready for wallpapering in just five minutes. Lastly, they offer an assembly kit with a glue brush, seam roller, paper hanging brush, knife, cutting guide, spirit level, pencil, and tape measure for efficient installation.
Do's and don'ts when applying wall mural over tiles
When embarking on the project of applying a wall mural over tiles, it's crucial to follow best practices to ensure longevity and aesthetic appeal. Equally vital is being aware of mistakes to avoid. Here's a concise list of the dos and don'ts:
Dos
• Thoroughly clean tiles: Ensure tiles are free from dust, grease, and other residues.
• Use the right adhesive: Different mural types require specific adhesives. Always select the one recommended for your mural type. If you order from Photowall, your non-woven mural will come with free glue.
• Allow adhesive to set: Follow the manufacturer's guidelines on drying time before attempting to smooth or adjust the mural.
• Smooth from center to edges: This helps in preventing air bubbles and ensures a tight fit against the tiles.
• Overlap and trim: Especially on larger murals, overlap slightly and then trim to ensure a seamless join.
Don'ts
• Skip surface preparation: Never rush the prep phase. Imperfections or residues can lead to poor adhesion and visible flaws.
• Ignore moisture levels: Don’t forget that regardless of the wall mural material you’re using, high moisture may affect the adhesion and lifespan of the mural.
• Stretch the mural excessively: Overstretching can lead to tearing or a distorted pattern.
• Neglect sealing: If the mural requires a sealant (especially in moist areas), do not skip this step.
Installing a wall mural over tiles can transform a room's aesthetics, bringing in a new dimension of artistry and freshness. By adhering to the best practices and steering clear of common mistakes, one can ensure a successful and lasting application. Whether it's a vibrant splash of color, a serene landscape, or a geometric pattern, the right mural, when applied correctly, can become the centerpiece of any space.