 Australia
 Austria
 Belgium (Dutch)
 Canada (English)
 Denmark
 Estonia
 Finland
 France
 Germany
 Ireland
 Italy
Italy
 Luxembourg (French)
 Netherlands
 New Zealand
 Norway
 Poland
 Portugal
 Romania
 Singapore
 Spain
Spain
 Sweden
 Switzerland (French)
 USA
USA
 United Kingdom
 Other Countries


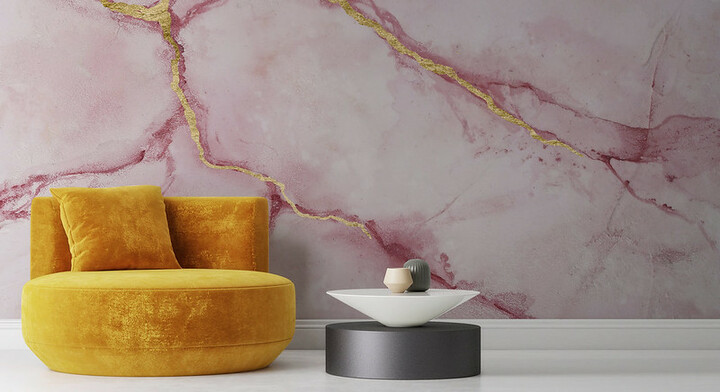
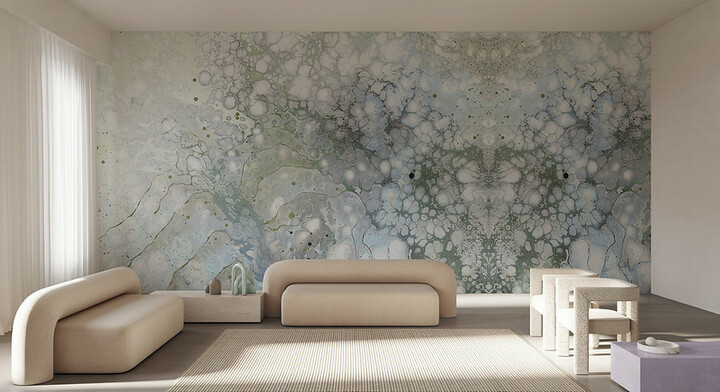
Discovering how to install wall murals can transform your spaces from ordinary to extraordinary, adding an artistic touch uniquely yours. This guide will walk you through the entire process, ensuring you have all the information you need to turn your walls into captivating canvases with beautiful wall murals.
Things to do before installing wall murals
Paying attention to preparatory steps before installing a wall mural is crucial. These preliminary actions ensure a smooth and lasting transformation of your walls.
1. Remove any remaining wall murals or wallpaper on your walls
Start with a clean slate by carefully removing any existing wallpaper or wall murals. Use a scraper or steamer to gently peel off the material to avoid damaging the wall surface. Ensuring the removal of residual adhesive is also essential for a smooth application. You will need a more comprehensive guide on removing wall murals because the methods may differ depending on the material type and how stubborn the wall mural is. So, read more here: how to remove wall murals
2. Seal freshly plastered walls with wall sealer
Freshly plastered walls can be porous, so sealing them with a suitable wall sealer is essential. Applying a thin layer of sealer primes the wall, creating an ideal surface for the mural to adhere properly and last longer.
3. Measure your walls
Accurate measurements are key to a successful installation. Use a tape measure to determine the height and width of your walls. Take note of obstacles, such as windows or doors, and add a mounting margin. Measuring multiple points across the wall is a good practice to account for any irregularities or slants. Always double-check your numbers before finalizing, as this precision will ensure a seamless fit and prevent wastage of material. A complete guide on how to measure your walls is included in this article: how much wall mural do I need
4. Determine how much wall mural you need
Different techniques, such as the Square footage method, Pattern repeat, and Linear method, can help you calculate the required amount of mural. Photowall simplifies this process by allowing you to input your wall dimensions directly and adjust the design as needed. For an in-depth understanding of these calculation methods, refer to this article: how much wall mural do I need
5. Ensure safety
Prioritize safety during the installation process. Ensure that your workspace is well-ventilated, especially if you're using adhesives. Wearing protective gear, such as gloves and safety glasses, can also safeguard against potential mishaps.
6. Prepare your walls
Properly preparing your walls is essential for a flawless mural application. So, here are some steps that will help you efficiently and effectively apply wall murals:
• Ensure that the walls are clean, dry, straight, and smooth
• Apply primer if necessary, allowing it to dry thoroughly
• Sand any uneven surfaces and wash the walls to remove dust or grease
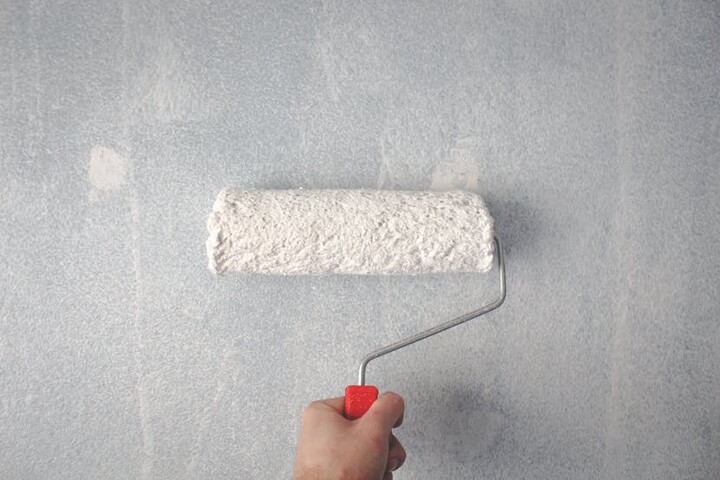
7. Prepare the paste
Choosing the right type of paste is vital, with options including clay, wheat, and starch-based adhesives. With Photowall, you don’t have to worry about paste selection anymore: every non-woven wall mural order includes free glue, a convenient powder that's ready in just five minutes. Moreover, Photowall's glue is eco-friendly, derived from natural raw materials, and is fully biodegradable. Further, if you use Photowall’s peel-and-stick types, you may skip this step since they come with self-adhesive backings.
How to install wall murals on all types of walls
Now that you're well-versed in the preliminary steps, it's time to delve into the heart of the matter: how to install wall murals seamlessly across different wall surfaces and scenarios.
Things to prepare
Before diving into the installation, ensure you have the following tools and materials on hand:
• Wall mural paste (unless using self-adhesive murals)
• Utility knife or scissors
• Smoothing tool or squeegee
• Drop cloth or newspapers to protect the floor
How to install wall murals on standard walls
Embarking on the installation of wall murals on standard walls is an exciting venture. Let's guide you through the straightforward process:
1. Align and cut: Begin by unrolling the mural and aligning it with the wall, ensuring it is straight and aligned with your marked measurements.
2. Apply paste: If using non-adhesive murals, apply an even layer of the paste onto the wall, covering a slightly larger area than the width of the mural strip.
3. Adhere the mural: Carefully position and affix it onto the pasted area, starting from the top and gently smoothing it downwards to avoid air bubbles.
4. Smooth out: Use a smoothing tool or squeegee to ensure a bubble-free application and perfect adherence to the wall.
5. Trim excess: Use a sharp utility knife to trim excess material along the edges, corners, and baseboards.
How to install wall murals around windows, doors, sockets, and corners

The installation around obstacles and corners is a slightly nuanced task compared to standard walls, demanding a bit more precision and care.
1. Approach obstacles: When you reach an obstacle, such as a window or socket, first ensure safety by turning off the power to electrical sockets. Lay the mural as close as possible, gluing all the way to the strip, and make relief cuts in the corners of the obstacle to allow the mural to lay flat against the surrounding area.
2. Trimming: Carefully use a utility knife to trim the mural around the outline of obstacles like sockets, switches, and window frames, ensuring a snug fit. When wallpapering around sockets, you may choose to remove the plastic cover for a cleaner finish or leave it in place, adjusting your cutting accordingly. When you reach a door or window, cut a 45-degree angle from the corner to the board's edge.
3. Corners and edges: For inside corners, glue carefully in the corner and continue gluing on the next wall a little more than a mural width. Align the new wallpaper pattern with the previous strip, and press the board firmly into the corner. For outside corners, fold the sheet around the corner, ensuring the fold goes over the corner by at least 2 cm. Adjustments may be necessary for the mural to align properly with the corner.
4. Adjustments: Pay attention to pattern alignment and make slight adjustments as needed, smoothing out any wrinkles or bubbles as you proceed.
These steps, while slightly more intricate, guarantee a professional finish even around the tricky areas of your room.
Frequently asked questions about installing wall murals
Embarking on a home improvement journey can be filled with numerous questions, especially when it comes to adding a personal touch to wall murals. Here, we address some of the most frequently asked questions about the installation process.
Can I apply wall mural over the tiles?
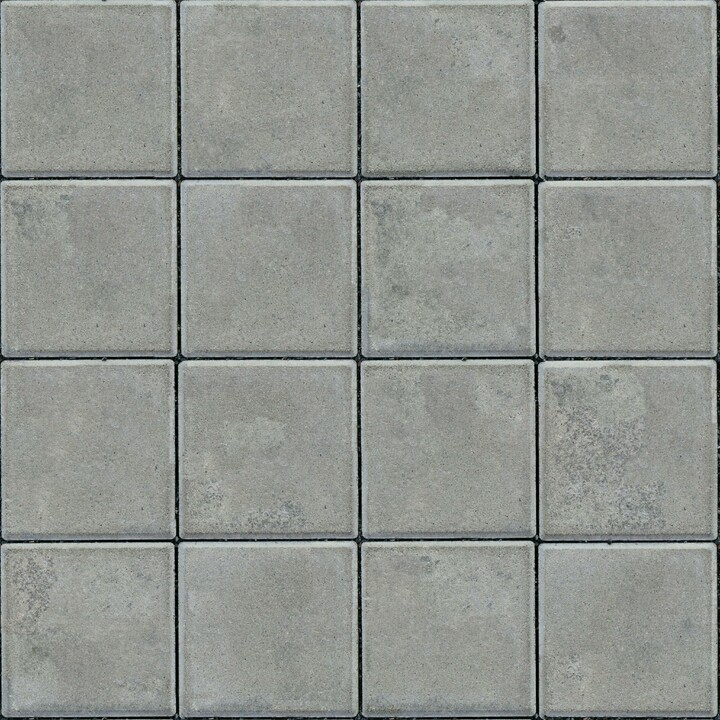
The feasibility of wallpapering over tiles depends on several factors. Firstly, the texture of the tiles should be even and smooth, with any textured or deep grout lines addressed through sanding or filling. Secondly, the tiles should be in good condition, firmly attached to the wall, and clean. Thirdly, the area should have low moisture levels, stable temperature, and good ventilation to ensure the longevity of the wall mural adhesive.
Regardless of the conditions, thorough preparation of the tile surface is essential for successful wallpapering. This includes cleaning, degreasing, sanding for better adhesion, and repairing any loose or chipped tiles. Ensuring that the surface is smooth and well-prepared can increase the likelihood of a successful wallpapering project over tiles. Check here for the most complete guide about this process: how to install wall mural over tiles
What wall murals are easy to install?
Whether you're a DIY enthusiast or simply looking to save on professional installation costs, selecting a wall mural that is simple to install can make the entire redecorating process smoother. Here’s why Photowall could be an excellent choice when it comes to choosing easy-to-install wall murals:
• Wall mural types: Photowall equips customers with products designed for hassle-free application. Non-woven wall murals are preferred for their cleaner installation, using the paste-the-wall technique, while their peel-and-stick wall murals are quick and easy to install.
• Sequentially labeled strips: Photowall delivers your wall mural in strips, carefully labeled in the order they should be hung. This meticulous organization makes transforming your room a stress-free experience.
• Free glue: With Photowall, every non-woven wall mural order comes with free wall mural glue, a simple-to-mix powder ready for wallpapering in just five minutes.
• Assembly kit option: Photowall offers an assembly kit for efficient installation. The comprehensive set includes tools such as a glue brush, seam roller, paper hanging brush, knife, cutting guide, spirit level, pencil, and tape measure, guaranteeing accuracy in application.
Dos and don'ts when installing wall murals
Navigating through installing wall murals requires attention to certain practices that can enhance the final outcome. Here are some helpful dos and don'ts to ensure a smooth and successful installation.
Dos
• Utilize a roll: Use a roll to lay out the wall mural before cutting or adhering, ensuring proper alignment and fit.
• Start strategically: Begin the wallpaper installation from the area opposite the most-used entrance. This helps in minimizing the visibility of seams.
• Overlap inside corners: Ensure that the seams in the inside corners overlap by at least 1/8 inch to avoid gaps.
• Incorporate mounting margin: Always add a mounting margin to your measurements to allow for adjustments and trimming.
Donts
• Avoid small strips: Refrain from hanging small strips of mural near doors and corners as they may peel off easily.
• Check corners: Don't assume corners are perfectly vertical (plumb). Always draw a straight, plumb line for guidance.
• Apply appropriate glue quantity: Do not apply too much or too little glue; an even layer is key for optimal adherence.
Installing wall murals is an art that transforms your space, infusing it with personality and vibrancy. By adhering to the outlined preparatory steps, installation procedures, and mindful practices, you ensure your walls' smooth, efficient, and successful transformation. Whether you're a seasoned professional or a DIY enthusiast, keeping these tips in mind will lead you to create a visually stunning space that speaks volumes.